Saturday, November 15, 2014

OUAS November Challenge

Good weekend to all of you lovely readers!
How are you today?

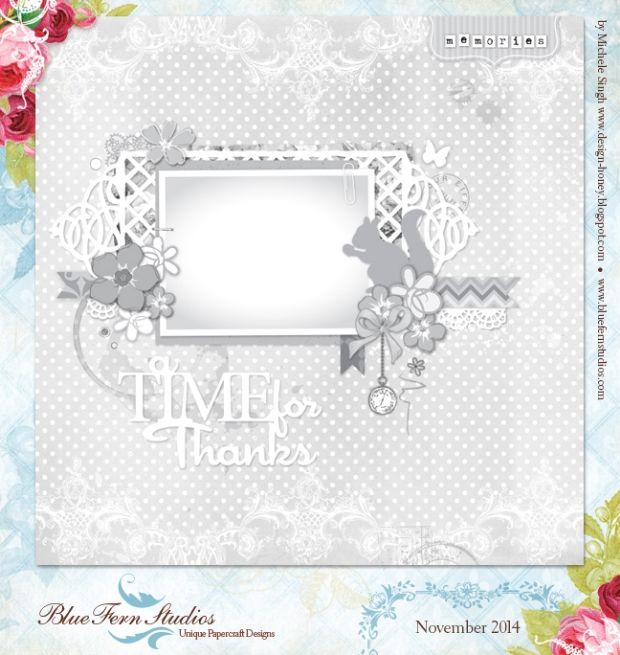
Today is reveal for Team 2 over at Once Upon a Sketch and here's the sketch and journaling theme:


Journalling Theme: "Inspiration/I am inspired by etc..."


You are free to interpret our theme ANY WAY you like. It is for your inspiration and this theme word DOES NOT need to be part of your title or journalling. But please make sure your layout is based on the sketch below and includes journalling (hidden journalling is fine). Acceptable journalling is MORE than just a sentence, or generic writing such as date/place etc. It needs to be present and at least 3 lines long. Remember, hidden journalling (under a photo/tag or behind your page) is perfectly fine but please DO let us know in your post where your journalling is! 

Some of you would know that I scrap mostly about my two boys and it's not hard to guess that they are my inspiration. How I got started scrapping was that before we had kids, my loves were photography, scuba-diving and traveling, and it was through my interest in underwater-photography that I proceeded to land photography. Well, all these changed when my first boy came out and our dive trips were greatly cut down to a few choice destinations a year. But photos had to be taken (I'm trigger happy) so the focus turned to our little boy. From then on, the photos I took are mostly of my children and what better way to showcase those photos than to scrap them right? 


And here are some close-ups:


My title is from Blue Fern Studios' Chunky Words set, and pretty much sums up what these two cheeky monkeys are to me.


some gorgeous prima blooms here colored with Ayeeda matt paints.


Another sweet chippie from Blue Fern which I've used as part of my layering. I've only just used gesso with a word stamp here to keep in line with the white-washed color scheme here.

That's all I have for today. Thanks for dropping by!


love,

Tuesday, November 11, 2014

Altered Home Decor for Made With Love

Hello friends! How are you on this rainy day?

It's brought the hot days down a notch and I'm glad that the year-end monsoons are finally here. We are enjoying the lovely winds coming through our windows and snuggling up with hot Milo. Elsewhere in the North, some of you are already having the polar vortex coming down and others are still in autumn. Keep warm and keep safe! Those of you in the South, happy summer fun!

I have a small altered project to share with you today. It's made for my LSS Made With Love Singapore and features the new Mix the Media range from Jillibean Soup, as well as the Rustic Harmony collection from Kaisercraft.


This can be the perfect piece to hang on the wall or to give away. 

Some close-ups:


Here is a start-to-finish video of how I put this piece together. Sit back and enjoy!


Supplies used (available from Made With Love):

Jillibean Soup 8" x 8" Wood Plank
Kaisercraft Rustic Harmony 6" x 6" Paper Pad
Ranger's Distress Stains (Brushed Corduroy, Bundled Sage, Rusty Hinge)
Ranger's Distress Paints (Victorian Velvet, Bundled Sage, Shabby Shutters, Mustard)
Ranger's Distress Ink (Walnut Stain)
Ranger's Perfect Pearls (out of stock)
Prima Marketing Clear Crackle Texture Paste
Prima Marketing Doily Metal Die
Prima Marketing White Roses (box)
Prima Marketing Resist Canvas sheet
Prima Marketing Say It With Crystals
Blue Fern Studios chipboards
Ribbons and laces

own stash:
clear gesso
regular gesso

love,


Saturday, November 8, 2014

Mojo Restart with 13arts

And the weekend is here!

How are you today friends?
I'm just so excited to share my latest project for 13arts with you, because it's packed with gorgeous products and what can I say, sometimes all it takes to kick-start that rusty mojo machine again is some amazing supplies.

Here's the layout I did. Nothing to it, just sat down, picked out my new favourite colours and teammie Olga Heldwin's new Color Basics collection from my DT pack and everything just happened!


I covered a piece of 12x12 chipboard with Ayeeda's acrylic primer, instead of heavy gesso which gives complete coverage as I wanted an uneven look for the background with little bits of the chipboard peeking through. This was followed by some tissue paper which I stamped and randomly adhered and sealed with Ayeeda gel medium. This was followed by random patting of acrylic primer again and I used my palette knife to create peaks to give a little extra texture. I found that this is something unique to 13arts' primer as it has a "foamy" texture, compared to other gesso I have used that are either too fluid or to pasty. Then it was out with the new colours I received in my DT parcel - Matt Paints in Berry, Coral and Olga's Metallic Magenta, Pastel Mists in Antique Cream and Caramel. 

Some closeups:


Just to show the various textures I have on the layout. I used the new stencils from Aida's Cozy Afternoon collection and layered with lots of random stamping. 


Papers from Color Basics as my layers and photo mat. Together with some flowers that I colored with Matte Berry and some stamens from the 13arts store. Tucked between the layers are pieces of the Marrakesh Panel chipboard from Blue Fern Studios which I have left nude for a more rustic effect.


Love how versatile the Ayeeda paints are. Use them thick for an opaque and intense look, and water down to move them around like watercolors. Also seen here is the Splash Ink and Metallic Magenta which I've mixed with Ayeeda liquid medium to give more full-bodied splatters.


Another view of the textures I've created. Love those pearl accents from the store!

That's all I have to share with you today. Thank you for dropping by!

love,

Thursday, November 6, 2014

My Boy for Marion Smith Designs

Hello friends!

It's my turn today on the Marion Smith blog and I'm excited to be showing you a project I've created with the new Posh collection, together with some older paper lines as well.

Here's the layout I've created:


I've mixed the old and new here: Posh together with a bit of Nirvana and Garment District and I love how the papers match up. My background was created with some of the new paints I got from 13arts and I think my new favourite (other than Gold) is Berry! 

Some closeups:


A little cluster I created with a cut-out from Garment District, Junque and Gems resin flower, a metal gear and jeweled key. 


My floral cluster with some Prima roses and also more Junque and Gems goodies - a silver metal gear which I primed with gesso and painted with my (you guessed it...) beloved Pearl Gold paint.

That's all I have for today. Do drop by the Marion Smith Designs blog for more inspiration from the wonderful DT!

 love,

Wednesday, November 5, 2014

Splashing Good Times for OTRS

Hello friends!

I'm in today to share a layout I created for Off the Rails Scrapbooking, with some tips on how to use up stash as well as a fun way to use your Ranger's Distress Stains.

Here's the very simple layout:


I used white card stock for my background and some of my friend Olga Heldwin's new paper collection (available at the 13arts store). 


For my background, I upcycled some old Thickers which I have not used for ages. It doesn't matter what color or font you have, just cover them with a layer of gesso and they are ready to be altered. 


To create the splatters, all I did was point my Distress Stain bottle downwards at the card stock and gave a very gentle but firm tap. If you want more dramatic splatters, just hold your bottle a little higher and come in with a little bit more force. 

And that's all I have to share with you for today. Thanks for dropping by!


Sunday, November 2, 2014

A Montage layout for Blue Fern Studios

Hello friends, how was your weekend? I finally got to have a good rest after two long days of a scrapbooking workshop in school and some time to catch up with my assignments.

Today, I'm sharing my monthly Blue Fern Studios video with you, a layout created using the fabulous papers from the new collection Montage.

Here's the project:


I've used the "Fairyland", "Wisdom" and "Merchantile" papers for this layout, tearing and layering the papers in the background to create texture.

Some closeups of the chipboards and clusters:


A piece of the Roman clock


A Bohemian Flower chipboard which I used to alter a flower


Here's a video of how I put it all together. Sit back and enjoy the tutorial!


And don't forget our monthly sketch challenge that is currently going on! Here's the sketch and some wonderful inspiration from the DT girls. 


And LASTLY.... here's another new collection from Blue Fern Studios by one of our new designers Manuela Zimmerman and it is absolutely stunning!! I don't know about you, but I'm just dying to work with these gorgeous papers!

Here's a sneak peek:


So these are all I have for you on this lovely Sunday. Have a great week ahead!

love,