Thursday, August 28, 2014

Altered picnic basket with Marion Smith Designs

Hello friends!

I'm in today to share a small altered project I created for Marion Smith Designs. Usually altered stuff are not my thing but MSD products are so suitable for them, I had a lot of fun making this picnic basket.


What better collection to use than the Mad Tea Party eh? I used the papers and metal embellishments from this line, together with some bits from the Garment District 6x6 paper pad. 

Some closeups: 


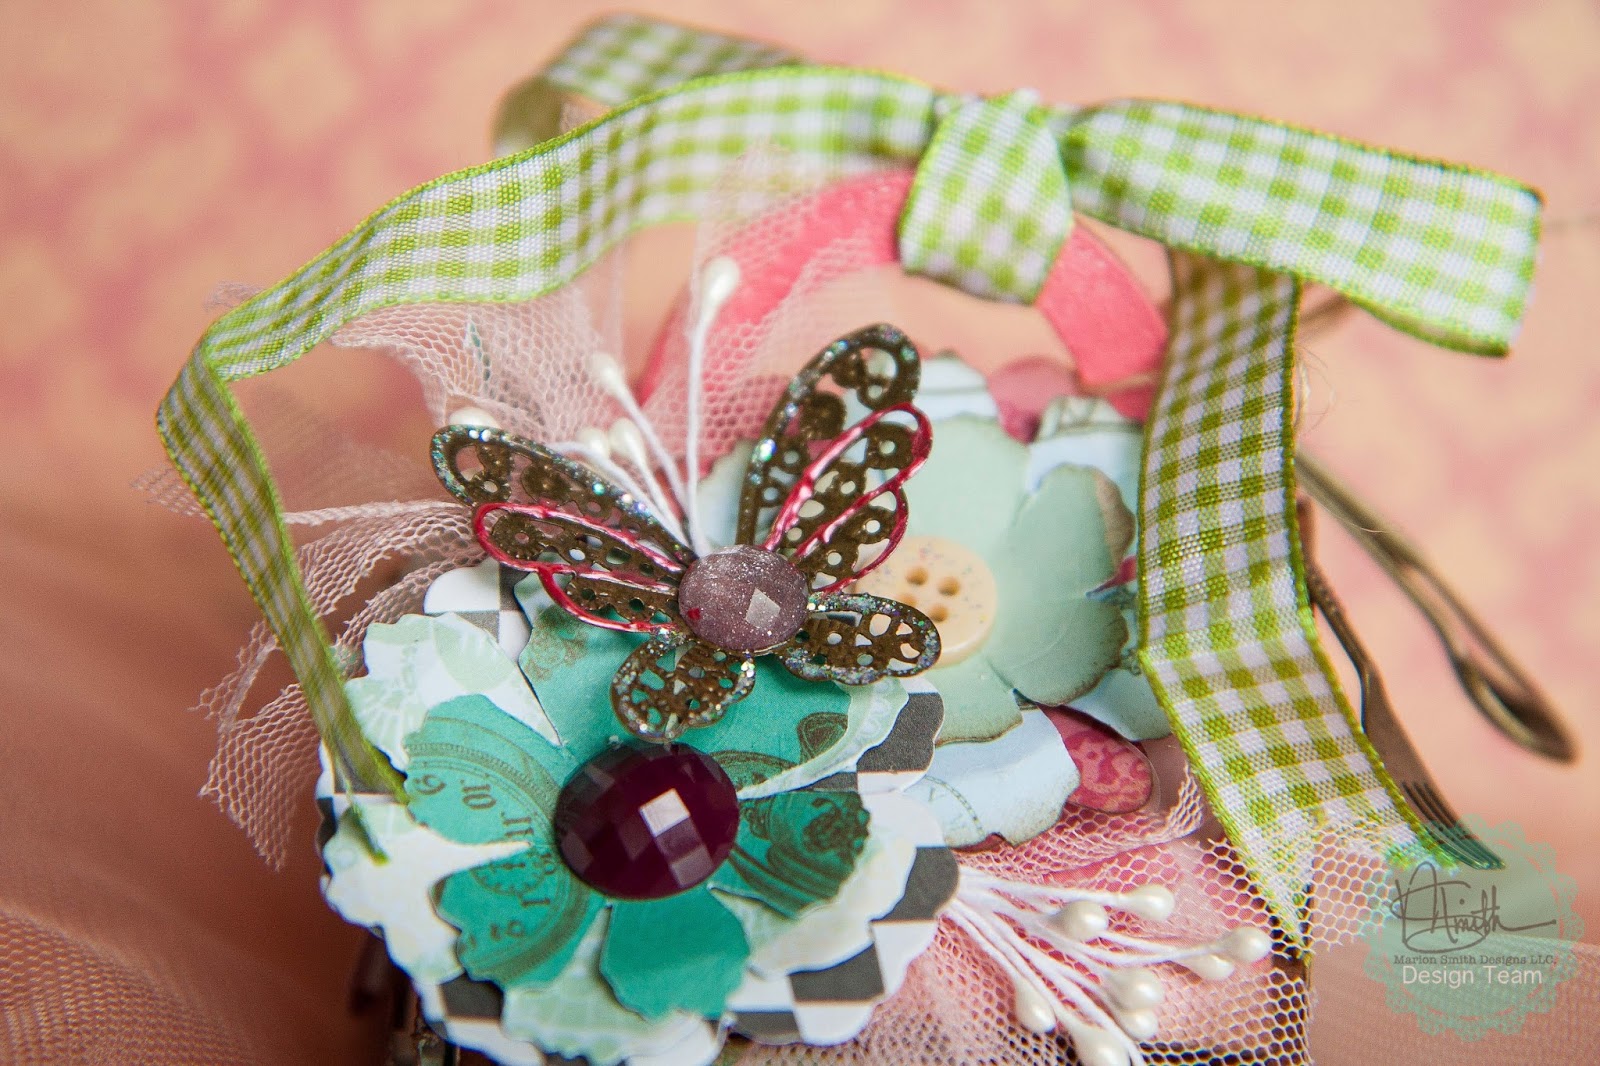
Handmade flowers with the Bloom Impressions Tool and an altered metal butterfly.


Floral sprays made from MSD flower stamens. Love that they come in teal!

And here's a video of how I put the whole project together. Sit back and enjoy, and remember to hop over to the MSD blog for a whole list of supplies used.


love,

Tuesday, August 26, 2014

Fly Away with 13@rts

Hello paper folks!

I'm up on the 13@rts blog today, sharing my first page with a black background. I had this dandelion photo in my stash for about a year now but never found the inspiration to scrap it until I wanted to try working with black patterned paper.


I'm using papers from the "Fly Away" and "All is Love" collections from 13@rts. To create the contrast, I did masking with acrylic modelling paste, stamping in grey chalk ink and gesso instead. There was very little misting, and only in the parts where the colour can be visible.

Some close-ups:


For the colours to show, I created splatters with the mists by wetting the brush from the bottle. I also used Ayeeda matt paints very lightly watered as these have more body and leave a more solid colour on the dark background. For the papers in my layers and the Shabby Brick Bit chipboard from Blue Fern Studios, I patted on modelling paste with a palette knife to create texture.


My title is a piece from the "Fly Away" sticker sheet. I distressed it with black ink and brushed on some gesso. The paper roses were dabbed with Ayeeda Matte Paint in Caramel and bled the colours with a small amount of water. I also fussy cut out some wings and tucked them under my photo. 

And that's all I have for now. Do drop by the 13@rts blog for more inspiration from the fabulous DT.
Until then, happy scrapping!

love,

Monday, August 18, 2014

August Prima BAP

Hello everyone!

Back in after the weekend to share with you my take on Prima's BAP for August. I thought I would be quite exhausted from taking care of a sick toddler but creating this page was really therapeutic for me. And I wouldn't be doing this if not for the fact that my talented friend Jennifer Synder designed this month's sketch! 

Here it is:


And my take on it:

As a tribute to her talent, I scrapped a photo of one of my favourite cats (if you're familiar with Jennifer and her works, she often features her Escape Kitty). This particular feline of mine, named Meow-Bi aka Empress Dowager, came to me as a little kitten of 8 weeks old and we had her till old age. Sweet lovely girl but oh, grouchy most of the time. This is a photo of her basking under the sun taking her nap.

For the papers, I've used mostly from the Delight collection. Initially I wanted to go without a backing, but the page was heavy and I had a sheet of patterned paper from "Something Blue" lying around. Yes, it was utterly destroyed in my first attempt to take on this sketch but nobody said you can't reuse it as backing. As it is, the mistakes were nicely covered up. Me - 1; trashbin - 0.

some close ups: 


Some Prima flowers, resin frame and blings layered on top of a Wild Flourish Frame from Blue Fern Studios. One thing I like to do with bigger chipboard pieces like this is to snip it into two and tuck them under separate clusters. It creates a certain sense of balance and fills out the page nicely. On this page, I painted the chipboard with Distress Paints and a dash of Ayeeda matt paint in Raspberry.


My chandelier stamping which didn't turn out as perfectly as I wanted it, but easily covered up with some pretty flowers and a word sticker. 


More vintage trinket and flowers. Love how the cheesecloth softens up the page.

That's all I have for today. Thanks for dropping by the blog and leaving your love. Until my next post,
happy scrapping!

love,


Saturday, August 16, 2014

OTRS August Challenge

Hello friends! It's the weekend again! If you have some time, why not give it a shot at this month's challenge over at Off the Rails Scrapbooking

This month's challenge is created by the talented Fiona Paltridge, and she has both a sketch and a mood board for you:


And here's my take on it: 


Rarely do I follow sketches to the letter but this is one of them. Lots of Blue Fern Studios goodies here - the papers are from Ombre Dreams and the chipboards used are Chunky Hearts Panel and Lace Rounds.

some closeups:


Lovely Prima blooms and embellishments. Also, tucked in amongst the flowers are leaves I had cut out using Lawn Fawn dies. A little bit of painting and staining and they fit in perfectly. 


Another cluster here where you can see more of the background.

That's all I have for you this week. Remember to link up your entry when you're finished with it, and all the best!

until then, happy scrapping!

love,


Friday, August 15, 2014

OUAS August Challenge

Hey there folks!

I'm in today to share my DT work for Once Upon a Sketch. Below is the sketch and them, created by the ever talented Nadia, for this month's challenge.


Journalling Theme: "The men in our lives..." 

You are free to interpret our theme ANY WAY you like. It is for your inspiration and this theme word DOES NOT need to be part of your title or journalling. But please make sure your layout is based on the sketch below and includes journalling (hidden journalling is fine). Acceptable journalling is MORE than just a sentence, or generic writing such as date/place etc. It needs to be present and at least 3 lines long. Remember, hidden journalling (under a photo/tag or behind your page) is perfectly fine but please DO let us know in your post where your journalling is! 


For this month, I chose to scrap about my dad. He's probably the least celebrated person in our family, but definitely the pillar of our household. A loud man (with his words and laugh) but worked tirelessly to put food on the table. He's a mini-celebrity of some sorts actually; the TV station loves to feature him and his 60 year-old family business in documentaries about the city's historical places.


I used an old photo of Dad back from his army days and chose Prima's Cartographer collection for this page. I've never tried teal with earth tones and it turned out quite pretty actually. 

Some details:


My floral cluster with some Junkyard resin and metal pieces. For the burnished look on the metal gear, I used the Patina metal glaze from Ranger's, Versacolor to ink the clock piece and Lindy's T-bird Turquoise for the number plate. Under all those layers are some stencilling, Tim Holtz rub-ons and random stamping.


Love those Prima flowers!


Lots of tucking in of bits from Kaisercraft. 


A filmstrip chipboard from Blue Fern Studios which I inked with Distress Stains, and finished off the layout with splatters of white gesso.

So that's all for now, don't forget to check out the rest of the DT's take on this sketch and link up yours on the blog. Thanks for dropping by today!

love,

Thursday, August 14, 2014

A Mini Album for Marion Smith Designs

Good day nice people!

I rarely make mini albums because I'm not particularly good at them. But when myprize pack of Um Wow Studios goodies won at Scrap Around the World came, there were these cute little mini albums just screaming out and begging to be altered. So I picked out some of my favourite lines from Marion Smith Designs and tried to work some magic up.

Journey Mini Album


This is the cover where I've used mostly papers from Nirvana, layering my cut-outs and popping them up for a 3-dimensional effect. I die cut the flowers from Garment District papers and shaped them for a more gentle contour using the Bloom Impressions Tool. Jazzing up the flower are the new MSD stamens and a piece of bling from Junque and Gems. I put in a little bit of texture with some 13@rts acrylic modeling paste over one of their stencils to fill out the space. There is also a piece from the Petite Frames set from Blue Fern Studios which I've tucked under the balloon and used it to secure my trim. For that, I've covered it with some Shimmerz Dazzlerz.


Some tips I found useful:

1. Your cover can be as layered or as three-dimensional or as cluttered as you like. But remember to do the reverse side first if you're going to make it chunky, as it can be little tricky if you can't lay the base of the album page flat on your work space.

2. I usually try not (but tend to forget) to clutter the pages in the mini-album or make it too chunky, but you can always make each page more interesting by using accents. I used cut-outs from Garment District to spruce up each page and the 6x6 pad size is just perfect for a mini.

3. Instead of adhering them flat on the page, layer different accents (I used up to 3 layers) and pop up the topmost one using the thinnest 3D foam dots so that the album can still close nicely. Don't forget you typically have a few pages in one mini album so the trick is not to overdo the 3D effect for each page.

4. It's ok to have bits sticking out of your pages - not everything must fit. I do this a lot as I like the "messy" and "out of the box" effect it creates.


Finally, here's a look at the inside pages of the mini and you can see the above tips in action.


One of the pages feature the "Blue Fern frame" from BFS as well. I painted it with Ayeeda's matte paint (Pink) and also Pearl Mist (Sap Green). 

For the back cover, I used the MSD Stamp and randomly went over the patterned paper. The rose was fussy cut out, and I used my finger to spread some Stickles over the petals for a shimmery effect. I also tied one of the Junque and Gems monocle pieces to my twine. Inside is a motif I cut out from Garment District.


And that's all for today. Thanks for dropping by!

love,


Wednesday, August 13, 2014

And it's here!!!

Hello friends!

Blue Fern Studios has finally revealed the "Montage" - their latest paper collection!!


I know a lot of you can't wait to get your hands on it, so here's a chance to win it! This giveaway is open to international scrappers as well so hurry on over to the Blue Fern Studios blog right away.


Monday, August 11, 2014

Mixed Media canvas for 13@rts

Hello friends!

Today I'm up on the 13@rts blog today with a mixed media canvas which I created for my favourite uncle's 50th birthday. He was an Apache assault helicopter instructor with the airforce before his retirement, so I used more masculine colours as well embellishments that reminds him of his flying days.


My background was created by layering scrap pieces from 13@rts' Timeless collection. There were some soft blues and greys which gave me a good tone to start with. I applied some 13@rts acrylic modelling paste over the Fly Away Stencil and coloured the background with Pearl Mist in Sky Blue and Chalk Mist in Ultramarine, with dabs of Ayeeda Paint in Matt Blue and Pearl Mist in Navy Blue for accenting and shadowing.

I also used a speech bubble chipboard from 13@rts and painted it to resemble the sky with Matt Blue Paint and 13@rts acrylic primer.

some closeups:


Adding extra texture with glass and silver microsphere beads, as well as some rub-ons and decorative twigs


Doing colour bleeding on a 13@rts paper flowers, the result is a beautiful ombre effect.


Splatters with slightly diluted gesso.

That's all I have for now, thank you for dropping by and leaving some love!
Until then, happy scrapping!


love,

Sunday, August 10, 2014

13@rts August Challenge

Hello friends! I'm in today to share my take on the August challenge over at
13@rts. This month, we have a lovey moodboard brought to you by the wonderful Bellaidea.

Here's the moodboard:


And the challenge rules:
It's Bellaidea today with a new 13 arts challenge.
I wanted to give you lots of freedom and inspire / challenge you at the same time so the idea is to create a journaling  page /LO /canvas /this time no cards and tags/ in the  style from any of 4 photos and with a  color combo you like the most.
I also would like you to use mists.

Being a very pastel person (at times), I naturally went for the shabby chic room with its soft creams and pinks and Baroque panel dividers. I started with from the "Fly Away" collection as my background, which I primed with 13@rts acrylic primer. I also did some stencilling with a doily mask using Ayeeda acrylic modelling paste.


Some close-ups:


Lots of fussy cutting here from the "All is Love" collection papers from 13@rts. My title is actually two halves of a doily with some sentiments on it and I juxtaposed them on opposite sides of the photo to try to create a visual line.


Some trim, tulle roses for a softer effect layered on top of strips of papers which I created a layered photo mat with using papers from the "All is Love" collection. And also my favourite paint splatters as well using various 13@rts mists. The roses I coloured with Ayeeda Matte Paint in Raspberry using a bleeding technique which I will soon do a short tutorial on. I also used a resin frame to imitate the Baroque panels in the photo. 

That's all I have for now. Do drop by the 13@rts blog for more inspiration from the rest of the DT. Hope you will find the time to play along with us this month to win some fabulous prizes!

love,

Saturday, August 9, 2014

Blue Fern Studios August sketch challenge

Hi everyone, how is your weekend? Over here in Singapore we are celebrating 49 years of independence. The boys and us are looking forward to some fireworks display at night over the bay.

But if you're elsewhere have nothing planned, why not take some time out to take part in Blue Fern Studios' August sketch challenge? Here's the sketch, designed by the ever talented Michele Singh.


What a gorgeous sketch for the summer! Remember to check out the rest of the DT's beautiful takes on the sketch on the BFS blog.

Also, there's a giveaway happening on the blog as well! We are announcing our video education team and YouTube channel, and giving away TWO complete sets of the Ombre Dreams collection papers! It's really simple, all you have to do is subscribe to the channel, that's all! Just click on the link below and leave a comment here

https://www.youtube.com/channel/UCzbwaRfdLcUe37PHIztLwMA

And that's all for today! Have a happy weekend!

love,

Friday, August 8, 2014

Debut post with Marion Smith Designs

Hello friends!

Today I'm bringing to you my very first post for Marion Smith Designs. It's been awhile since I've created with such amazing artwork and detailed papers so it was definitely a lot of fun!

"You Make Me Smile"


This was created using papers from the "Mad Tea Party" collection. Just love the amazingly rich colours and different designs that I can fussy-cut out for layering. 

For my background, it was the usual acrylic primer from 13@rts, followed by dry brushing with Ayeeda Matte Paints in Turquoise and Raspberry. I then wet my brush a little and bleed the colors randomly. Next was some acrylic modeling paste over a stencil, and finished up with some random stamping with MSD clear stamps.

some close ups:


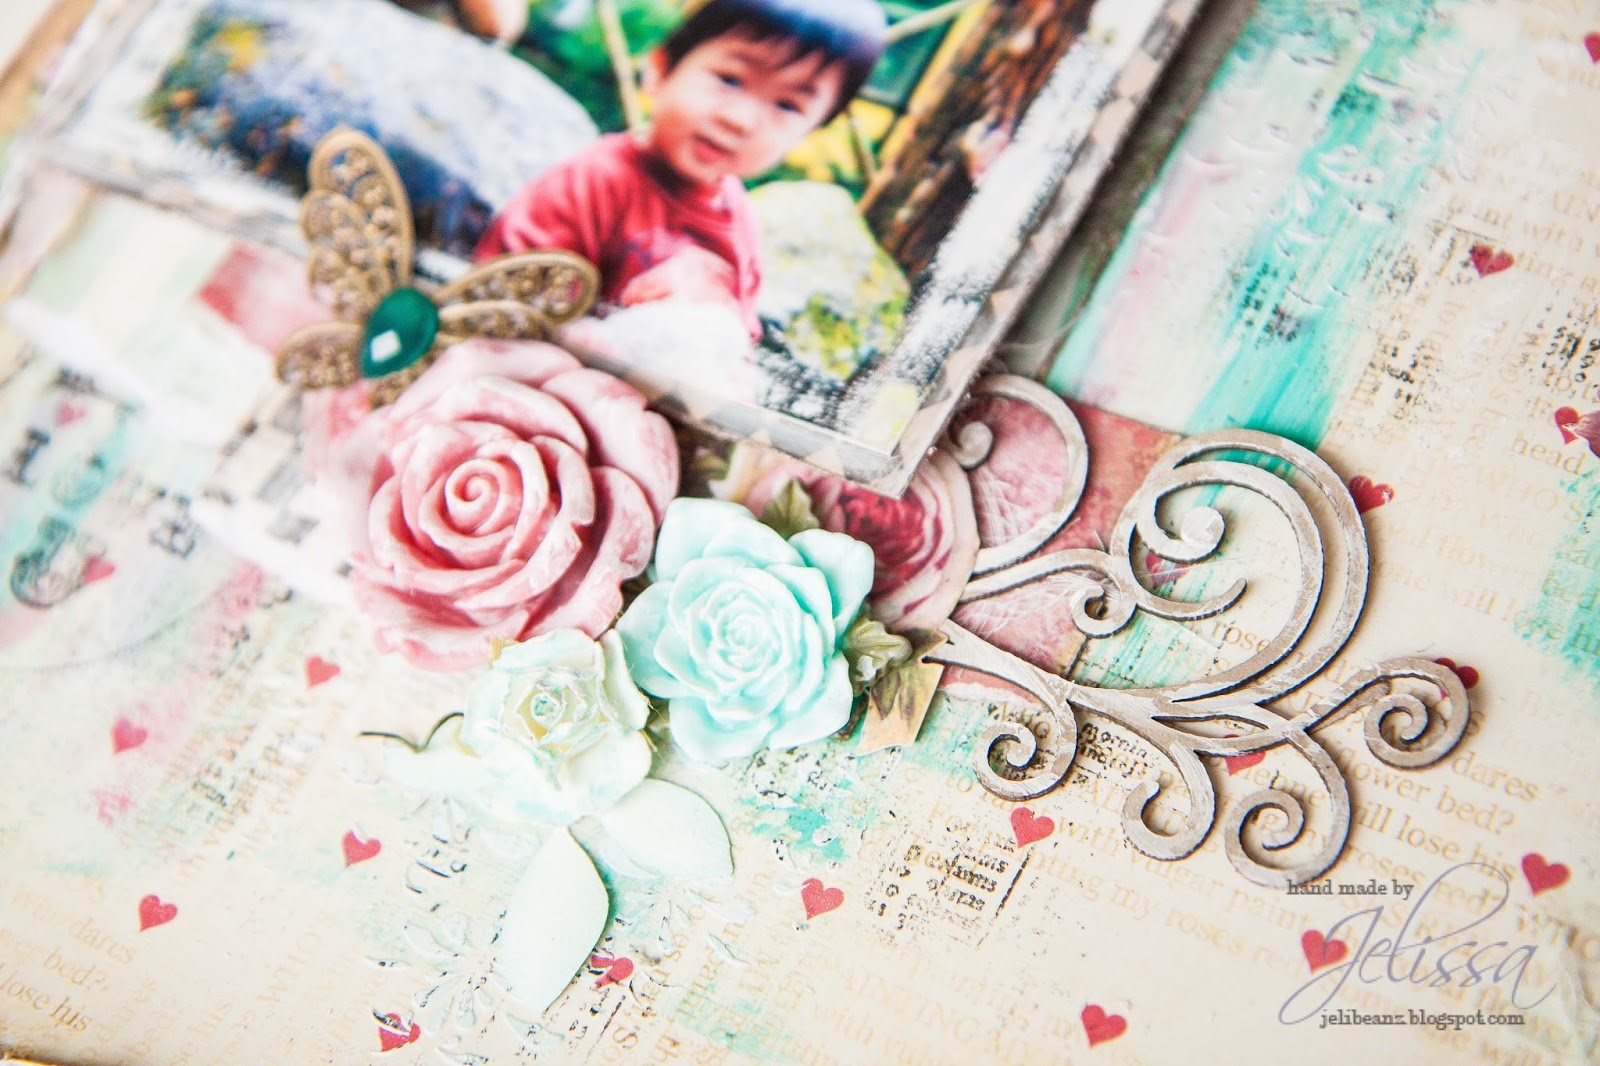
I actually made those flowers with the new Bloom Impressions Tool and it was so much fun! So very different from the pre-made flowers that I'm used to but it has definitely added a lot of dimension to my layout. Plus I can add matching Junque and Gems stuff to jazz up the flowers. Now I'm just working with patterned paper but I'll be trying out fabric real soon. As you can see, lots of fussy cutting and layering the different pieces.


Junque and Gems resin flowers, jewel and a metal butterfly. I also added a flourish chipboard from Blue Fern Studios which I lightly dabbed with acrylic primer randomly. 

So that's all I have for now. Hope you've enjoyed my project for today.
Until then, happy scrapping!

love,