Friday, October 30, 2015

An Autumn Story with Maja Design

Hello friends!
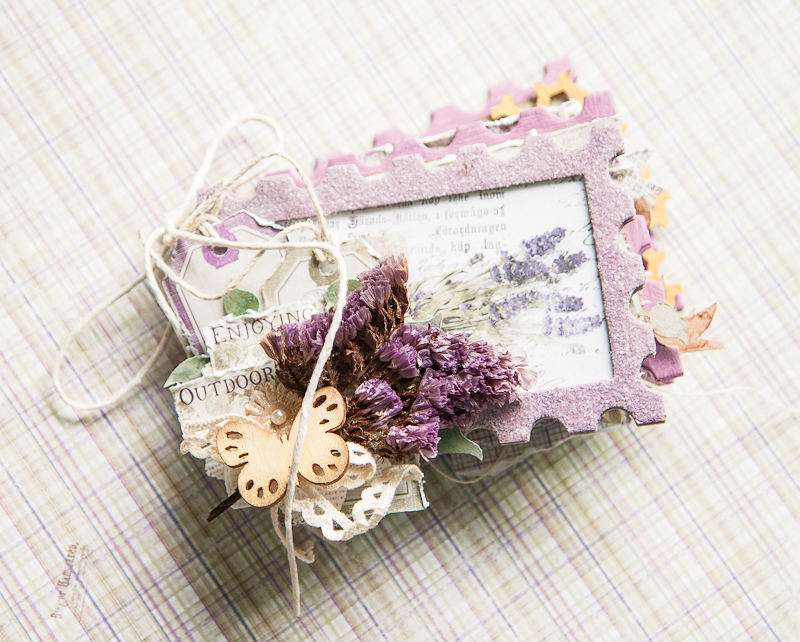
Today I'm up on the blog with another layout I created using the Enjoying Outdoors collection. This time, I focused on the rich greens and browns of the papers and used it for a trip we took in the forest during autumn.
IMG_0282
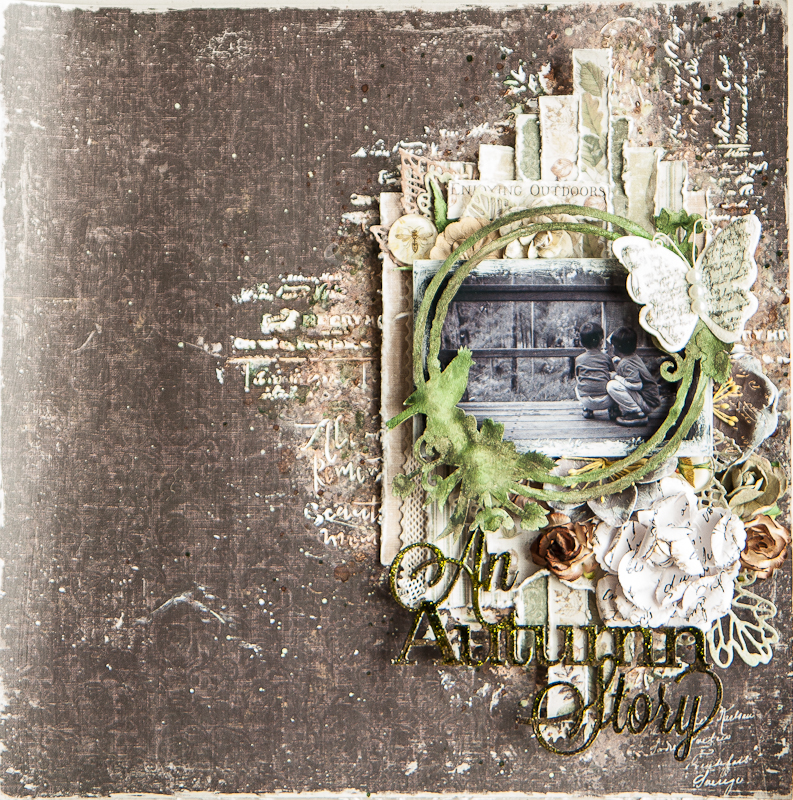
We were on a broad walk in the middle of an age-old forest of karri trees and there was a little lookout by the side. Being boys, my two sons ran up the lookout and were surprised to find a little star badge on one of the wooden beams. They went on to make up their own story about how it got there and a new adventure was created. I love it that they are so creative and curious in their own ways about the world around them, and that there is always a story (pretend or not) to everything they see.
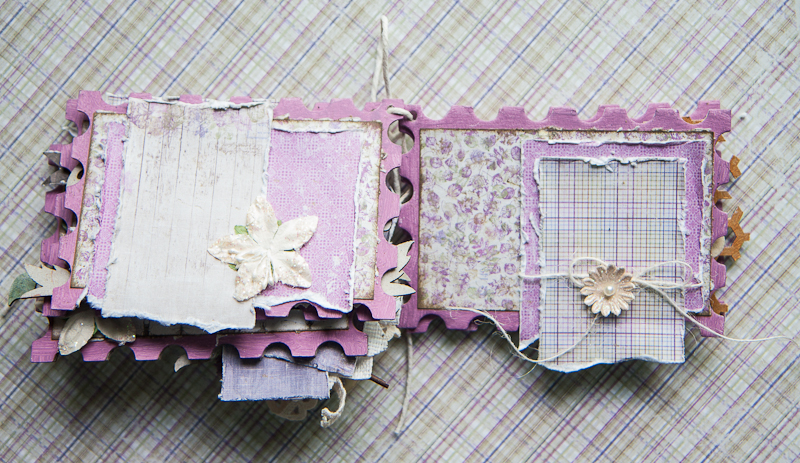
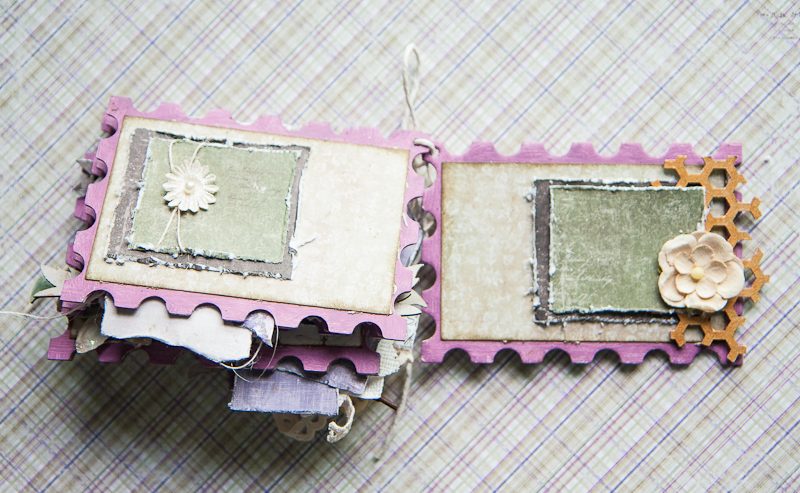
Some close-ups:
IMG_0285
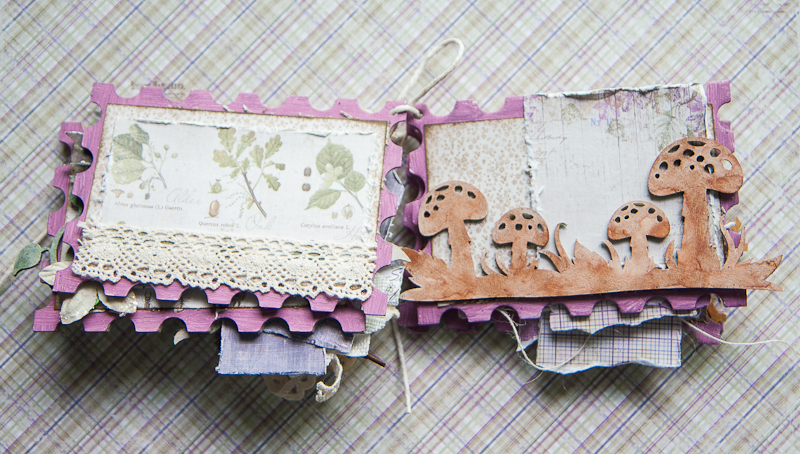
My paper layers, which I made into a vertical line to imitate the towering trees in the Valley of the Giants, a very ancient karri tree forest. By alternating the different shades of brown and green, and with the patterns in the info strip, I was able to add a lot of contrast and details. My chipboard was embossed in brown, and I painted green glitter paint over.
IMG_0287
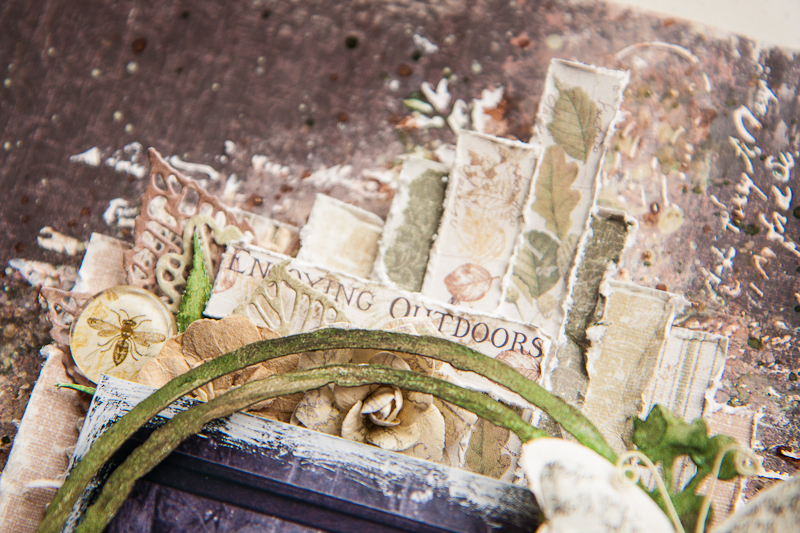
Adding more details with the die cut leaves and words from the info strip.
IMG_0290
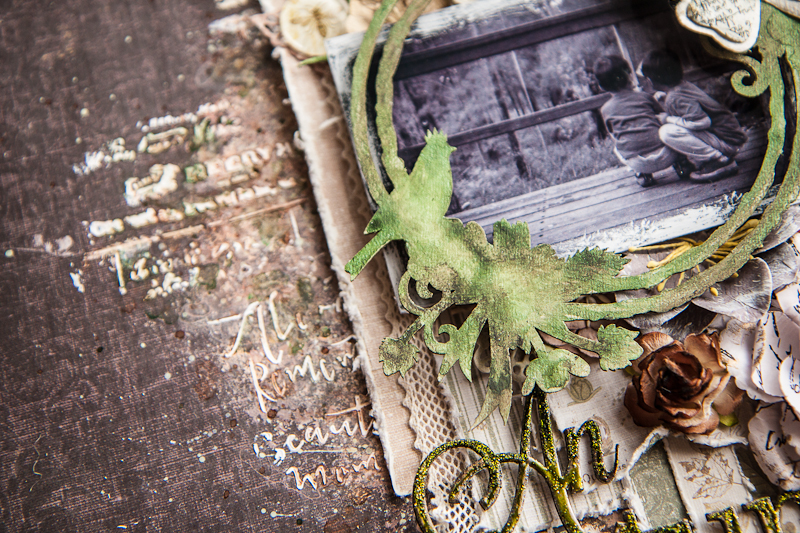
A simple background of stenciling words and sprinkling of paints. My chipboard frame was painted with watercolors and I also had lace and hessian tucked into the paper layers.
That's all I have for today. Thanks for dropping by!

love,


Monday, October 26, 2015

Thankful with 13@rts

Hello friends!

Today I'm up on the blog with a very simple layout but one I had a lot of fun experimenting with, using the lovely Ayeeda water-based inks.

Here is the layout, which I had also based on Scrap Around the World's mood board. My friend Heather is hosting the challenge so here I am supporting her! 


Actually, I had more heartache than fun making this. When I was nearly complete with my layout, I spilled the Sky Blue and Violet inks all over the whole page and it was unsalvageable. So it was back to a new sheet of white cardstock and I had to start all over again. But this time round, I was able to try out something new so it wasn't all that wasted. I had used the colorful inks to create the rainbow colors in the mood board and also recreated the raindrops with the bubble stamp that I made my resist with. And of course, a little feather for the birds, and my interpretation of being thankful - that life doesn't have to always be perfect for you to be grateful.

Some close-ups:


My cardstock was primed with clear gesso from the 13@rts store. I'm so glad that we finally have our own version of it which is so fluid and so much easier to apply on than the one I used previously. I then created a resist with stamping and white embossing powder before I started on the inks.


Making the layout a little less boring with texture - microbeads, glass beads and sand grit.


Layering on and blending the inks, which I watered down and splattered for the watercolor effect that is really quite the trend now. The Ayeeda inks are really intense and easy to blend. I finished off with splatters of Splash! acrylic ink.

So that's all I have for today. Thanks for dropping by!


love,


Friday, October 16, 2015

Moments with 13@rts

Happy Friday friends!

I'm up on the blog today to share a layout I create with the fabulous new releases from 13@rts. Initially I had another project ready for today's post but seeing how gorgeous the new papers and mediums are, I couldn't wait to show them off and whipped up a new project just for that.

Here is my page, made with the Secret Letters collection designed by Aida:


I love the pinky undertones in this collection and decided to use this photo of No 2 and my dad - he has so much love for his three grandkids and they are truly blessed to be have been under his care.

To create my background, I primed it with Ayeeda's clear gesso (YAY!! Finally!) before spreading some modeling paste over the new stencils (YUMMY!). Then it was painting with the new mists (Dirty Pink in pastel and chalk mists) as well as some old favourites (Metallic Pink). Lastly, some random stamping and heat embossing and splattering with the Splash! inks.

some close-ups:


Adding texture with mica flakes and sand grit. The chipboard from Blue Fern Studios was lightly painted with the mists.


Fussy cutting out the doily from the papers and layering the other bigger journaling cards.


Some details of the background - the subtle stenciling and heat embossing.

That's all I have for today. Thanks for dropping by!

love,


Thursday, October 15, 2015

Enjoying Outdoors with Maja Design


Hello Maja fans!

I'm on the blog today to share a mini album I've made from the brand new collection Enjoying Outdoors. I love the sweet combination of purples with browns and greens - and reminds me of the lavender fields we saw while on a road trip to the forests in Western Australia.


IMG_0258 
Here is the cover of my mini. I love the stalks of lavender in the die-cut sheet but lavenders don't grow well here, so I tied a small bunch of dried forget-me-nots (I keep lots of these whenever I receive a bouquet of flowers, which is not very often by the way!) with some lace. The die cut tags from the 6x6 paper stack are the perfect size for the mini too. 

Here's a look at the inside pages:

IMG_0261

This is really a very small album - about 3" by 5" so I decided to keep things simple inside without excessive layers. Just lightly distressed edges on the papers and banners made from the info strip to give me plenty of space for photos and journaling.

IMG_0262 
A little more fun here with chipboard and lace. We always try to spot mushrooms on our walks in the park so I added those as a reminder of the little bits of nature we see when we're outdoors. Now if only there were truffles here.... 

IMG_0264

In the end, I couldn't resist adding more layers and flowers.

IMG_0265

And the last two pages of the album with simple photo mats and flat flowers so that the album doesn't end up too chunky.

That's all for the mini album and I hope to fill it up soon with pictures of our family out in the parks for our walks and the fun things that we see on the way!

love,
jelissa


Sunday, October 11, 2015

October Eves with 13@rts

Hello friends! How are you this fine Sunday?

I have finally ventured out to a shopping mall after one month of confinement (not exactly confined as I was still shuttling between home and the clinic and my mum's place) and it was nice to be outdoors for once. The air is slightly cooler with the northeast wind coming in, telling me that the rainy season will be here soon. But I can imagine all my friends in the Northern Hemisphere cooking up all things pumpkin spice these days!

Today I'm sharing my project created for the October challenge at 13@rts and it's a gorgeous theme this month - one of my favourite seasons!

Here is the mood board, created by Maryse Jolin:


and the challenge rules:
Rules for Challenge # 35
1. Create a mixed-media project based on our moodboard above.
2. Publish your project on your blog and add link directly to the post using Inlinkz tool at the right side bar.
3. Please add a link and info about our challenge, where your work is published.
4. You may submit as many entries as you like. 
5. You can enter your project with a maximum of 2 other challenges and your work must be new, not published before our challenge has started. 
6. The challenge ends on 25th of October. Winners will be announced on 29th of October.7. You do not have to use 13 @ rts products in your project.

And my take on it:


I bought this wooden frame from one of the art stores here for altering and it was just perfect for this project.

Some close-ups:


A vine which I covered with Old Gold metallic paint and dabbed on more green metallic paint and pearl gold paint. I also sprinkled glitter while the paint is wet for that extra shimmer.


Adding texture to the wooden frame. I have microspheres as well as a nice thick paste of Magic Powder and gesso to create the lovely cracks and peaks. Then all was given a nice wash of mahogany matt paint and gold pearl paint.


The background was created on "Pegasus" paper from Starlight collection. I first used a leaves mask followed by a nice watered down layer of Woodbine and Dark Brown chalk mist. Then I gave a coat of gold pearl paint for accenting the background and also on my embellishments.

That's all I have for today. Thanks for dropping by!

love,

Friday, October 2, 2015

October Inspiration with Blue Fern Studios

Hello friends!

How time flies and we're already in the month of October! Honestly I can't wait for the rest of the year to come by as I know the weather will be a lot cooler (and the northeast winds will be blowing the haze far, far away....)

I'm up today on the Blue Fern Studios blog with two creations for this month. Firstly is this layout of my second boy when he was still a little baby. When our little girl was born she looked exactly like her eldest brother. But as the days went by and I looked at her again, she resembles her second brother! It's amazing how babies change over time in character and appearance.

I'm using the oh-so-gorgeous Frolic collection designed by Michelle Singh. Just love the bright happy colors perfect for a day out under the sun or just about any other memory that warms your heart. My background work is simple because there were just so much detail in the papers that I wanted to show off.

Some close-ups:


The Deja Vu Atelier chippie which I have covered with a few different mediums. What you see here is crackle paint in pewter (for some reason my cracks are not showing up nicely all over), Perfect Pearls and Sticklers.


For this part of the same chippie, I've painted the flowers with 13@rts' matt paints and leaves with Twinkling H2Os.


Some more detailing here with plastic fillers (13@rts) on one of the chipboard flowers and silver microspheres dotting the leaves. I've layered my photos with pieces from "Calling Cards" from the collection.


My title piece double heat-embossed and sprinkled with distress glitter.

And my balancing cluster with simple fussy cut designs.


 My second creation is a layout with a video tutorial. This one is of one of my cats who passed on some years back at the age of 13. Grumpy one she was but always so elegant and graceful (until the day she tried to sneak up on a grasshopper and it backfired spectacularly).


I used lots of pinks from the Frolic collection because she was such a lady.

Some close-ups:


The Framington Medley chipboard layered on top of fussy-cut frames.


Chained Bits chipboard which I snipped and tucked all over.


My title piece from the Love Story collection. It was sitting in a box full of these cut outs and looked perfect for this layout.


My floral cluster.

And here is the video of how I put everything together. Sit back and enjoy the process!


And before I go, here is this month's sketch challenge over at the BFS blog. Do play along for your chance to win some fabulous prizes!


And that's all I have for today. Thanks for dropping by!

love,