Thursday, November 12, 2015

Vintage Summer card with Maja Desi

Hello friends!

 I'm back on the Maja Design blog again today with a simple card to share with you. Don't be surprised, even in a small simple card there are design principles you can follow to make your card visually more pleasing to the eye.

IMG_0349

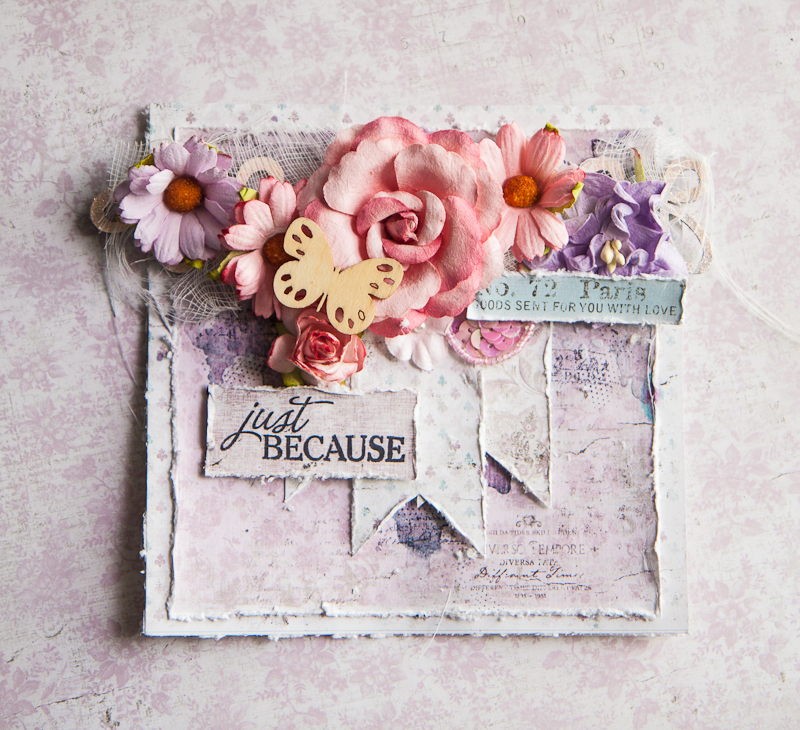
When layering my papers, I like to alternate between a neutral shade like grey, off-white or beige and what I like to call a "character color". Basically, it's the color that sets the theme and feel of the project and gives it its "character". In the case of this card, my "character color" is the soft purple with tinges of pink and it has given the card a romantic and feminine hue as it is going out to a very special lady. So following this guide, I alternated off-white with purple, and on the purple itself, varying between intricate designs like paisley swirls and simpler mini fleur di lis. The contrast between these elements lends a lot of dimension and pleasure to our eyes.

Some close-ups:

IMG_0350

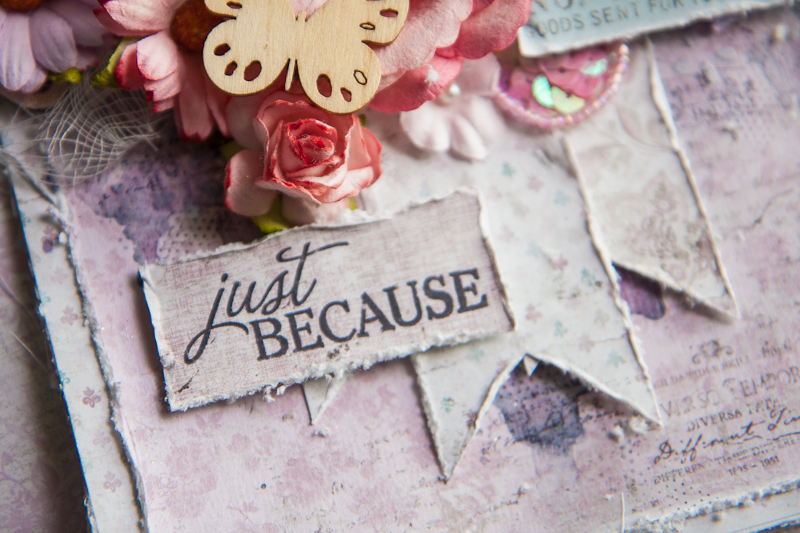
I stamped on my sentiment on a solid purple background and juxtaposed it next to the banner with more off-white so that it's obvious it's the message I want to send to my recipient. The banners were arranged to form an inverted triangle with the floral cluster, so that gives the visual flow of the card.

IMG_0351

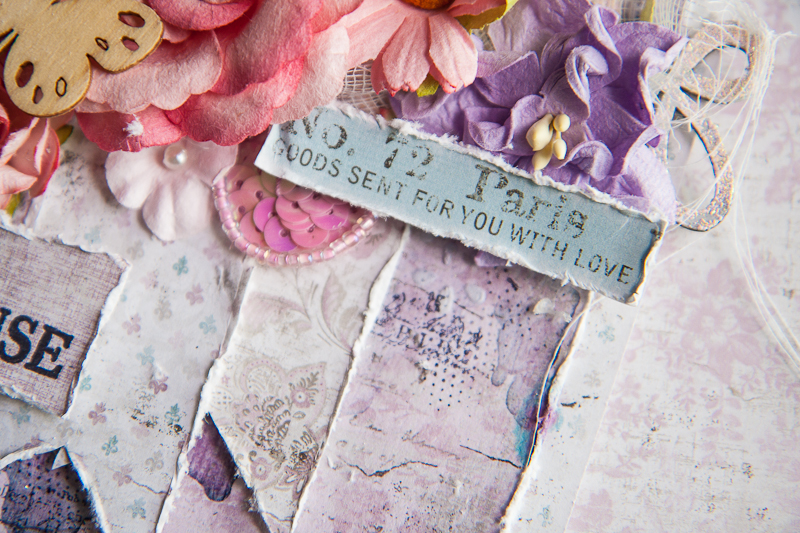
A little bit of the background mediums work: stenciling, painting and some stamping. I used a lace border stencil for a more feminine touch, and a little splash of blue just to create a color accent. I also placed the cut-out from the info strip diagonally across my sentiment for a smooth visual flow as that is the direction our eyes would follow when reading from one line to the next. My chipboard from Blue Fern Studios was altered with simple heat embossing using one of the fabulous EP.

Well I hope these guidelines are useful for you when thinking about creating your next project. Until then, happy crafting!


Wednesday, November 11, 2015

Cherished with 13@rts

Hello 13@rts friends!

I'm on the blog today to share a layout I created with Aida's gorgeous new collection "Secret Letters". Am so loving the muted pinks and script backgrounds, and I'm sure you will have lots of fun creating with it too!

Here's my page, of my dog who has passed on 5 years ago but he lives forever in my heart:


I've used the brand new clear gesso to prime my background, but still brushed on some acrylic primer for a white-wash where my main cluster will be. My background details were created with some stenciling using Ayeeda's new design, and lots of painting with the co-ordinating Dirty Pink pastel mist, and Violet Pearl mist. Then it was loads of fun with stamping and splattering with Splash! inks,

Some close-ups:


Chipboard which I painted with Cocoa matt paint, and lots of textures created with mica flakes, microspheres and glass beads.


My flowers were a light shade of pink to begin with. As I laid them on the wet liquid acrylic medium which I used to seal the beads, the colors from the mists that ran into the liquid medium soaked into the paper flowers and coloured them at the same time.


Layering using scraps from the collection.

I hope you like what I have shared today!


Monday, November 2, 2015

November Inspiration with Blue Fern Studios

Hello friends! Hope your weekend of trick n treat has been fun!

I'm up on the Blue Fern Studios blog today to share two layouts. And if you've been wondering, here are my little girl's photos at last! I finally found the time to process them and print them out for scrapping. And I got to say, the feel of a newborn in my arms and their intoxicating smell is just so addictive!

Here is my first layout, based on the November challenge sketch created by Michelle. I used lots of the gorgeous papers from the Autumn Anthology collection - pastels are really my favourite!


My take on the sketch:


This time I've pretty much stuck to the sketch changing only the title. My background is deliberately simple so as not to steal the limelight from the pretty papers  and chipboards.

Some closeups:|

Under my flowers, I have the Floral Lattice Bits all heat-embossed and layered on top of strips of papers from the Autumn Anthology papers which I have the edges punched.


The French Ironwork chipboard which I heat-embossed as well - first with two different shades of brown and as an accent, I used the Fern Embossing Powder, one of the many new products from Blue Fern Studios. Some stamping in the background was done with the Garden Frolic stamp set.


Another half of the Floral Lattice Bit which I snipped off to balance the layout. Lots of layering too from different sheets of the collection.


My title, made up of words from two different sets - Baby Words and Perfect, Adorable, Special - which I brushed lightly with paint and inked the edges with gelato.  

My next share is a video tutorial and I had heaps of fun doing it. Each and every one of my kids get a shadow box or canvas for their baby photo and my little girl is no exception. While I really love how sturdy the Blue Fern papers are, I wanted something that I could mount on a wall or display without warping over time. So I chanced upon the idea of transferring the entire sheet of patterned paper over on to my canvas.

Here is the project:


You can see just how different the background paper looks now! Because of the uneven-ness in removing the layers of paper, I had little patches of white all over, with some bits of the canvas exposed. It's a gorgeous white haze effect on top of a very pretty paper, and muted it just enough to fit the theme of the photo.

Some close-ups:


My title piece - I snipped off the "Hush" from "Hush Little Baby" to fit the composition of the canvas. I painted it with 13@rts Matt paint in Cocoa, followed by Art Anthology sorbet paint and lastly distress glitter.


Aloha Flower chippie, sneaked in between all those layers of Calling Cards cut-outs. The chippie was painted with 13@rts matt paint Peach, followed by Lilac chalk mist and Violet pearl mist.


My background is a mixture of simple stenciling as well as heat embossing with another sweet color "Petal" from Blue Fern Studios. I also cut out little butterflies and placed them all over the canvas.


Butterfly Friends chippie helping to fill out the layers and also to create visual flow.


Some of the background details.

And here is the start-to-finish video. That's all I have for you today, so sit back and enjoy!


love,