Showing posts with label card. Show all posts

Friday, January 15, 2016

Celebrate with 13@rts

Hello friends!

Hope your 2016 has been great so far. Mine is just filled to the brim with the kids and their activities and catching some me-time is a miracle! And I was so glad to find time to make a card for a special someone.


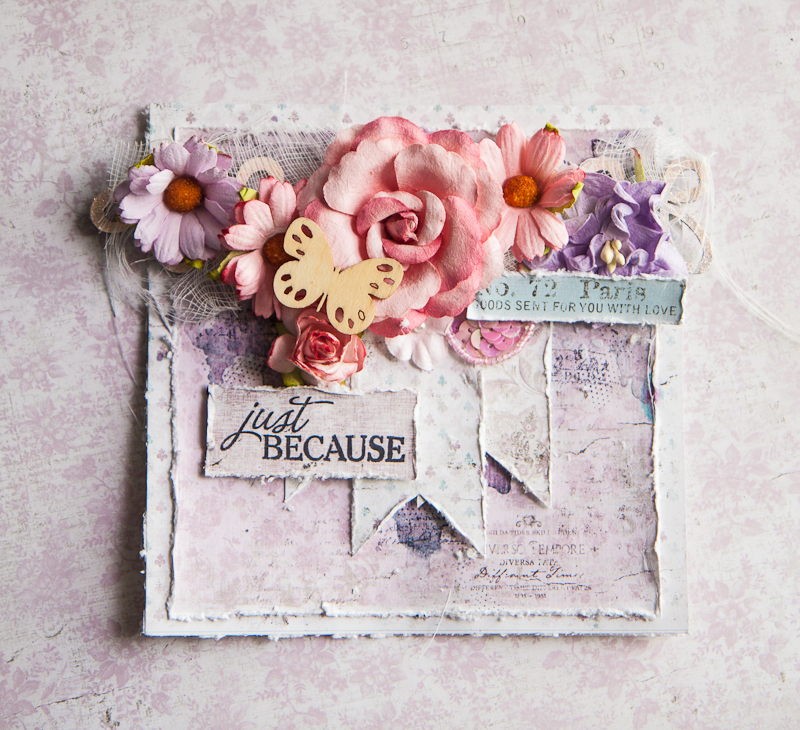
I've used paper from Aida's Secret Letters collection and based my mono-chrome palette entirely on the gorgeous mauve and pinks.

Some close-ups:


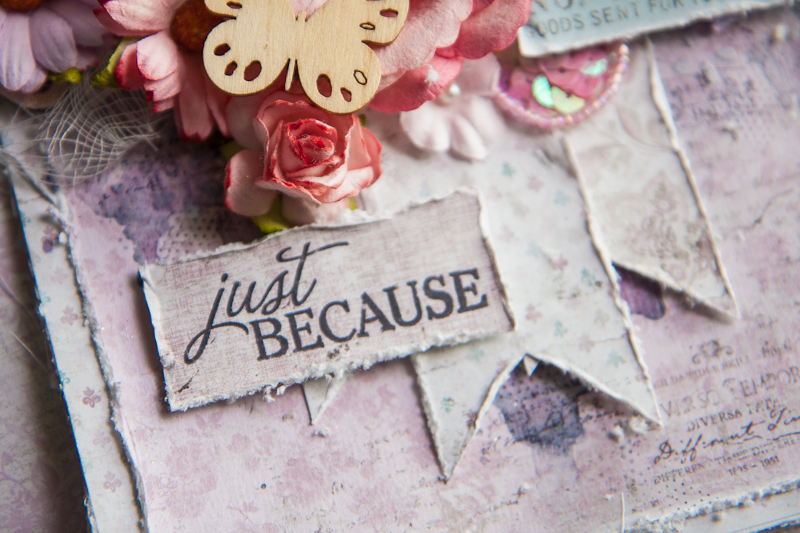
Bits of the background here. I first used the lovely new doily stencil (love it!!) and painted over with Dirty Pink in the chalk and pastel mists, followed by splatters of pastel Berry mist and black Splash! ink. For my title, I painted the words with white Splash! ink.


When all that is dried, I went over with the "Always the Music" stencil. This is another favourite of mine because of the details in the notes and script and I love to use this to add more texture to my background. Lastly is a script stamp with some embossing powder for a darker color tone to accent the whole card.


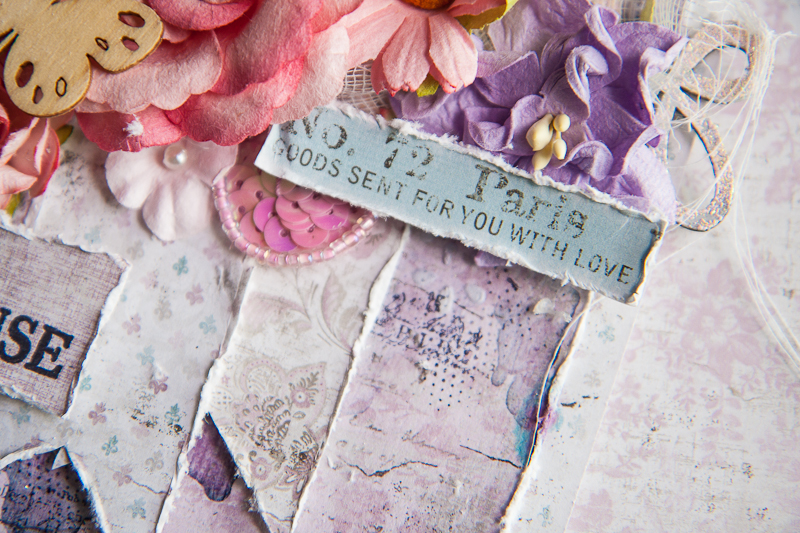
I have a doily die cut from white cardstock and gave it a slightly different treatment. First I splattered Berry mist over it without gesso and let the color sink in. It leaves a intense but even splash of color and I applied gesso over. Finally it's Berry mist again but the effects are greatly different. The spots of mist dries with a darker edge around a much lighter pool of the mist. With this, I was able to make my doily look more interesting with a dyed and dried look. The chipboard was treated as usual with painting Dirty Pink chalk mist randomly.

And this is all I have for today. Have a great weekend ahead!


Wednesday, December 30, 2015

Thankful with 13@rts


Hello 13@rts friends!

Today is the second last day of 2015, how fast time has flown! For me especially, it is a big year because our little girl has arrived. There are so many changes in the family, in my life and as I look back, there were just as many blessings that we have experienced. So for my last post for this year, I want to take time to say "thank you" and be grateful for all that has happened, good or bad.

This is a card I made for a close family friend whose birthday is also just around the corner. He has walked through difficult times with my husband and me, and loves my children as his own. Because this is for a guy, I have done away with flowers and made it very simple with strong clean lines.


I used Olga's Winter Tales for this card simply because the papers are so beautiful! I particularly love the deep reds and rich greens, and I couldn't make enough projects from this collection. For this post, I thought I really want to feature more of the papers and despite it being a Christmas theme collection, you can use it for just about anything.


Some details of the background. For this card, I used only two paints - White Glitter paint and Green Glitter Splash ink. To get that lovely mint green, I mixed White Glitter paint with Magic Powder, followed by a drop of Green Glitter and spread it over the holly stencil from the same collection. When it dries, you can see a lovely shimmer with both silver and gold flakes. I also topped it up with some splatters of Green glitter straight from the bottle.


For this chipboard from Blue Fern Studios, I used the remainder of my mint green paste and spread it over. Then I gradually mix in Green glitter paint to the remaining paste to use as a thick paint, one drop at a time to get many different shades of the green as layers of paint. Until the last layer was painting directly from the bottle.


I love the fussy cut holly from the Christmas tag paper and layered them on top. Then I brushed a thin layer of White glitter paint over to make the whole card look consistent with the use of glitter.

So that's all I have for today. Wishing you and your family a wonderful new year ahead!


Monday, November 23, 2015

Hope with 13@rts

Hello friends! How has your weekend been? 

We've had a fabulous one, traveling across the Causeway and into Legoland Malaysia with a few of our church friends. Both husband and I are not very comfortable with driving in - because of the jam at the immigration (which we had spent up to 3 hrs in when we used to travel in for our weekend dive trips) and also because Johor isn't as safe as it used to be. So with 2 pre-schoolers and an infant in tow, you can imagine how reluctant we are. So when friends told us that they were planning a trip, we jumped in immediately because there's safety in numbers, and we could do with some lovely company. In any case, it was a wonderful and successful trip - the boys (from age 3 to 13) had so much fun playing together and the adults had a nice break away from the office. I'm still kinda glued to the baby though, and have sort of resigned to the fate of a walking milk dispenser.

And today, I'm up on the 13@rts blog with a Christmassy creation. It's only about 1 month away and I'm really looking forward to all the festivities, merry-making and getting together with friends. I'm not much for green and red and gold, but this card was so much fun to make.

I used very simple supplies for this card as I wanted a minimalist sort of look with plenty of white space. To create some texture with a white-on-white effect, I spread modeling paste over one of the new Christmas stencils and sprinkled distress glitter on top while wet. I also die cut and embossed a white snowflake from cardstock paper.

Some close-ups:


I rested my white cardstock background on a sheet from Olga's Winter Tales collection. Love the wood grain design because it conveys such a cosy feeling of evenings by the fire in a tidy little cabin. I had also cut out tags from the collection and layered with a gold leaf and a chipboard from Blue Fern Studios, colored with Woodbine glitter paint. The flower was painted with green glitter paint and I sprinkled some of the gold microspheres inside. The title "Hope" is what I'm praying for this season - that hope will overcome all the evils of this world.


I dripped some Green glitter paint down the top. Wasn't sure what effect I was trying to achieve as snowfall on roof is not green, but it looked good all the same!

And that's all I have for today. Have a great week ahead!

love,

Thursday, November 12, 2015

Vintage Summer card with Maja Desi

Hello friends!

 I'm back on the Maja Design blog again today with a simple card to share with you. Don't be surprised, even in a small simple card there are design principles you can follow to make your card visually more pleasing to the eye.

IMG_0349

When layering my papers, I like to alternate between a neutral shade like grey, off-white or beige and what I like to call a "character color". Basically, it's the color that sets the theme and feel of the project and gives it its "character". In the case of this card, my "character color" is the soft purple with tinges of pink and it has given the card a romantic and feminine hue as it is going out to a very special lady. So following this guide, I alternated off-white with purple, and on the purple itself, varying between intricate designs like paisley swirls and simpler mini fleur di lis. The contrast between these elements lends a lot of dimension and pleasure to our eyes.

Some close-ups:

IMG_0350

I stamped on my sentiment on a solid purple background and juxtaposed it next to the banner with more off-white so that it's obvious it's the message I want to send to my recipient. The banners were arranged to form an inverted triangle with the floral cluster, so that gives the visual flow of the card.

IMG_0351

A little bit of the background mediums work: stenciling, painting and some stamping. I used a lace border stencil for a more feminine touch, and a little splash of blue just to create a color accent. I also placed the cut-out from the info strip diagonally across my sentiment for a smooth visual flow as that is the direction our eyes would follow when reading from one line to the next. My chipboard from Blue Fern Studios was altered with simple heat embossing using one of the fabulous EP.

Well I hope these guidelines are useful for you when thinking about creating your next project. Until then, happy crafting!


Thursday, September 17, 2015

Thank You with Maja Design

Hello friends!
I'm excited to be up on the blog today to share a card I made using Maja Design's Autumn Basics collection. Some of you may know, our baby girl arrived last Tuesday morning and we've received lots of well wishes for her, as well as gifts all the way from Sweden, Malaysia and even Australia! This Thank You card is meant for one of my fantastic scrappy pals who sent her love all the way across the sea.
IMG_0169
I've layered papers from the Autumn Vintage Basics collection seeing how the weather is cooling down these days in Singapore - a good thing for me as I'm now on a diet that makes me perspire endlessly. It's part of my Chinese culture to make sure that mothers who have just delivered get the best nutrition to help their bodies recover from childbirth, although everyone around me including my doctor thinks I need to get more R.E.S.T! But lying down in bed and sleeping the whole day is just not my kind of thing, so I've been making myself using by.... making thank you cards!
IMG_0173
I've kept my background simple because I want the designs on the papers to show. Some splattering of paint and watering it for a water-color effect (this is so trending now!), and fine stenciled designs just to keep the composition in place. I've also added twine to my flowers for a more rustic autumn look.

IMG_0174

Some fussy cutting over here which helped me to relax after a hectic morning of bathing baby, having my breakfast and catching up with some housework. To make the fussy cut flowers stand out, I popped the image up with 3D foam dots and dabbed Sticklers for a bit of glittery goodness.

Hope you like what I have shared with you today!

love,


Thursday, June 18, 2015

Shabby Card for 13@rts

Happy Thursday everyone!

I'm in to share a quick card I made for 13@rts using some of the fabulous products in their store. I'm using turquoise and pink, which for reason give a really shabby feel to everything.


My background is a very simple sheet of white cardstock. I have not used those for awhile now but I'm re-discovering just how versatile (and fun) they are to use. Background is very simple stenciling and painting with light turquoise chalk mist in two layers - one watered down first coat and a second more intense coat with just enough water for drips. The gradation of tones create a very eye-catching and pleasing effect. I didn't splatter the whole background with color because I want some of the white from the modeling paste to give relief and contrast to the white cardstock.

Some close-ups:


Creating lots of texture with different fabric layers. My wooden bird was first covered with White Matt Paint followed by watered down Metallic Turquoise paint. Beneath that is a left-over piece of chain chippie (from Blue Fern Studios) which I had painted with Old Silver Metallic Paint. The resin frame was given generous drops of slightly watered Metallic Turquoise paint. 


Some more textural detail using silver and clear microspheres, as well as the bigger plastic spheres with mica flakes. My roses were white to start with but I altered them with dabs of Raspberry Matt paint.

That's all I have for today. Thanks for dropping by! 

love,

Thursday, May 14, 2015

It's a Girl with Maja Design

Hello friends!

As you can see, I'm busy catching up with posts and DT assignments and today, it's a card for Maja Design. I realise that ever since I started with them I've been making a lot more cards and that's because their papers are perfect for just about any type of paper crafting! It also means I have more personalized gifts for people who have been a great part of my life and in this digital age, a handmade card is definitely something refreshing to get in your mailbox.

So here is the card:


I got a pack of the Crea Diem collection in my box but the colors are so nicely muted that I mixed it with some cut-outs from the Vintage Baby collection which I have left over, to make this Baby Girl card for a friend who is due to have hers soon.

Some close-ups:


A simple background of mists from 13@rts and stenciled texture paste over my layers of papers, plus my must-have floral cluster. Some stamping with a vine stamp as well to create the effect of spreading leaves and direction.


Another must-have - Blue Fern Studios chipboard which I have layered 4 different shades of pink/lilac on for a dimensional look.

And that's all I have for today. Thank you for dropping by!

love,

Thursday, April 30, 2015

Be Mine with 13@rts

Hello friends!

Today I'm up on the 13@rts blog with a little card to share with you. I was inspired by the colors I saw on a piece of kitchen towel that I used to clean up my mess while crafting, and it was a nice blend of lavender and blue. So I made this card with these two colors in mind.


Here it the card:


I've layered Matt Paint Lavender with Metallic Paint Blue on top. Then I wiped off with a baby wipe to reveal the colors underneath.

Some close-ups:


Creating my paper layers with some of the scrap from my paper collection Mental Vacation.


The chipboard from Blue Fern Studios which I altered using a paste made from Matt Paint Lavender, Magic powder and some iridescent medium. Then I finished off with some Splash acrylic ink.

That's all I have for you today. Thanks for dropping by!

love, 


Thursday, April 16, 2015

Saying Hello! with Maja Design

Good day friends!
Today I will be sharing a simple card that I made with some of the gorgeous papers from the Seasons' Basics collections from Maja Design. 
I had chosen a color scheme of orange, yellow and purple. Not very common but in the pastel shades they are found on the Maja papers, they actually compliment very nicely.
Here is the card I made for a friend:


Keeping the mixed media background work to a minimum because I want the designs on the paper to show up.
Some closeups:


Simple stamping and heat embossing, which acts as a resist for the  Matt Berry paint (13@rts) I added and also gives a beautiful contrast against all the colors. I also made little splatters of black paint to make the pastel shades even more outstanding. 


Making a frame from an intricate die from Bo Bunny. While I glued the bigger piece down, I popped up the smaller inner piece for a more dimensional and interesting look. From there, I built up the more 3D parts of my embellishments so that the cluster looks natural and not intrusive.


 And here is the cluster of flowers which I have lightly painted to match the color scheme of the papers. I also cut out little banners from the info strip at the bottom of the patterned paper I used to add not just layers but also direction as well. The chipboard (from Blue Fern Studios) I altered lightly with black paint and some black sand paste.


That is all I have for you today. Thank you for dropping by the blog!
love,


Thursday, March 5, 2015

Love is All You Need with Maja Design

Hello Maja fans!

I'm in today to share a card I created using the gorgeous Nyhavn collection. It's a quick card that uses just one sheet of patterned paper. It's so simple, you can apply the same tips to any card or project if you don't have the entire day for crafting.

Here is my card:


For this card, I've used both sides of the "Romantic Lunch" sheet of paper. What I did was to use the neutral grey side as a base for the card, and layered it with the patterned and colored reverse side. It is from this colored side that I drew the colors for the chipboards, embellishments and background. 

Some close-ups:


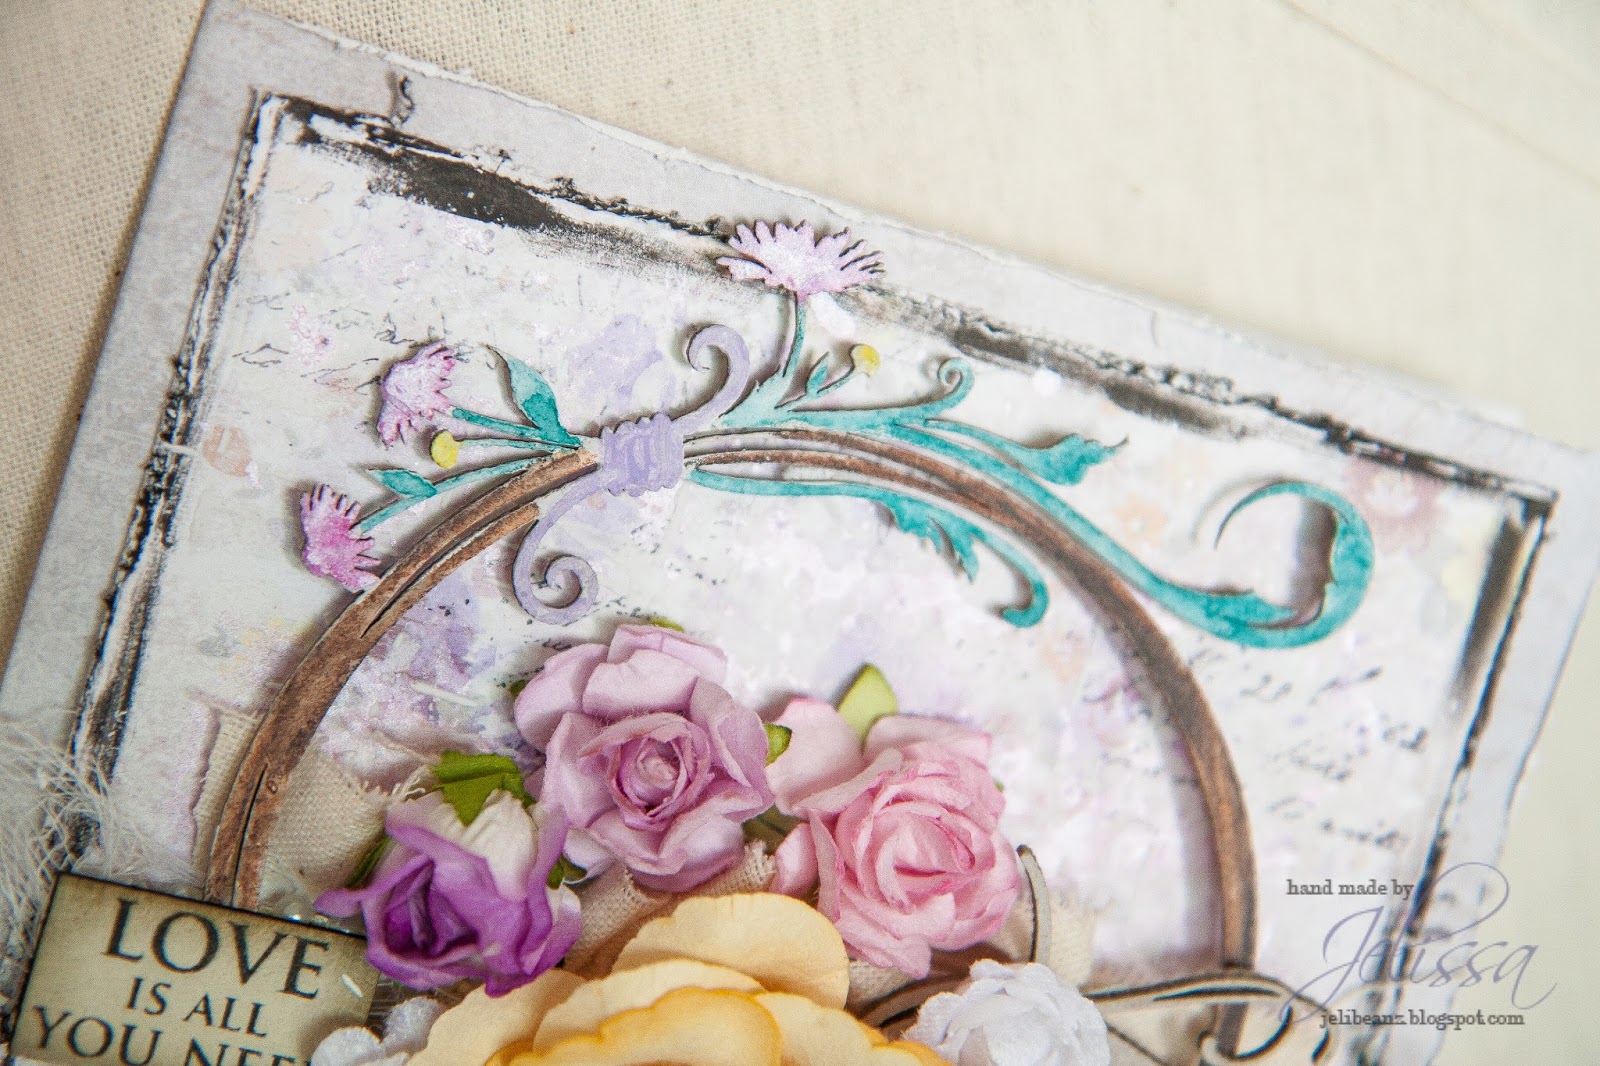
I have two chipboard designs here - the smaller flourish I left nude because there was already enough color on the card. The second chipboard with more flourishes and flowers was colored with Inktense color pencils, and bled with a small wet brush. I also distressed the edges of my layered paper with black paint using my finger. 


While the colored side of "Romantic Lunch" already has a beautiful palette, more details can be added. I patted on gesso randomly, followed by mists in various purples and pinks. The effect is a subtle yet vibrant background.

To add the last few touches, I had a canvas frill with pearl strings running under my floral cluster. 

And this is all I have for today. Thank you for dropping by, and have a good day ahead!


Thursday, February 26, 2015

Follow Your Dreams with 13@rts

Hello friends!

I've been quiet for awhile trying to get some much needed rest, but I'm in again today to share a card I made for 13@rts. Nowadays I'm venturing into small projects like these for practical reasons - I'm too exhausted for bigger projects like layouts, and I have tons of 12x12 lying around with lack of storage space. With cards I can bless someone and also, it's something I really suck at so, practice makes perfect right? I hope LOL

So here's a step by step showing how I made this card.

Step 1


I trimmed out two sheets of 12"x6" from one sheet of patterned paper from the Cozy Evening collection (Hot Chocolate edition). The brown side I used as my base and from the reverse side, I trimmed out a 5.5"x5.5". For the brown sheet, I folded into half and distressed the edges with gesso using my finger.

Step 2


Add modeling paste over a stencil (from Cozy Evening) and sprinkle some embossing powder over. Heat to set.

Step 3


I used Woodbine chalk mist to add color and also some Splash! acrylic ink in black for my splatters. The embossing powder added earlier gives a nice resist effect.

Step 4


I mixed some Ayeeda matte paint in black with modeling paste and used it to distress the edges of my white paper with my finger to get a nice grungy border.

Step 5


Using the same mixture, I patted it over randomly on my chipboard from Blue Fern Studios, followed by some gesso to whitewash it. After this, just assemble the card together and this is what I got:


I splattered some Woodbine chalk mist on the flowers and misted lightly with water. Unfortunately it does look like splatters of blood (oops)...

Some closeups:


That's all I have for now, hope you like today's post!

love,